

Rolling out Gymizen across multiple locations is less about “copy/paste the same setup” and more about deciding what must be consistent (so reporting and member experience stay clean) and what can be local (so each location can operate without constant overrides). This playbook is a 21‑day implementation walkthrough you can run with owners, managers, and front desk leads—built around approval‑gated controls so exceptions don’t become policy by accident.
This guide assumes you’re a boutique operator (CrossFit, yoga, Pilates, martial arts, boxing) with 2+ locations and at least one of these complexities: shared memberships, cross‑location bookings, shared staff, different class capacities by room, or a mix of membership types and packs. If you’re still early in onboarding, start with Operator onboarding checklist for Gymizen before you attempt a multi‑site configuration.
What “good” looks like (multi‑location success criteria)
- Members understand access. A member can tell whether their plan works at Location A, Location B, or both—without asking the front desk.
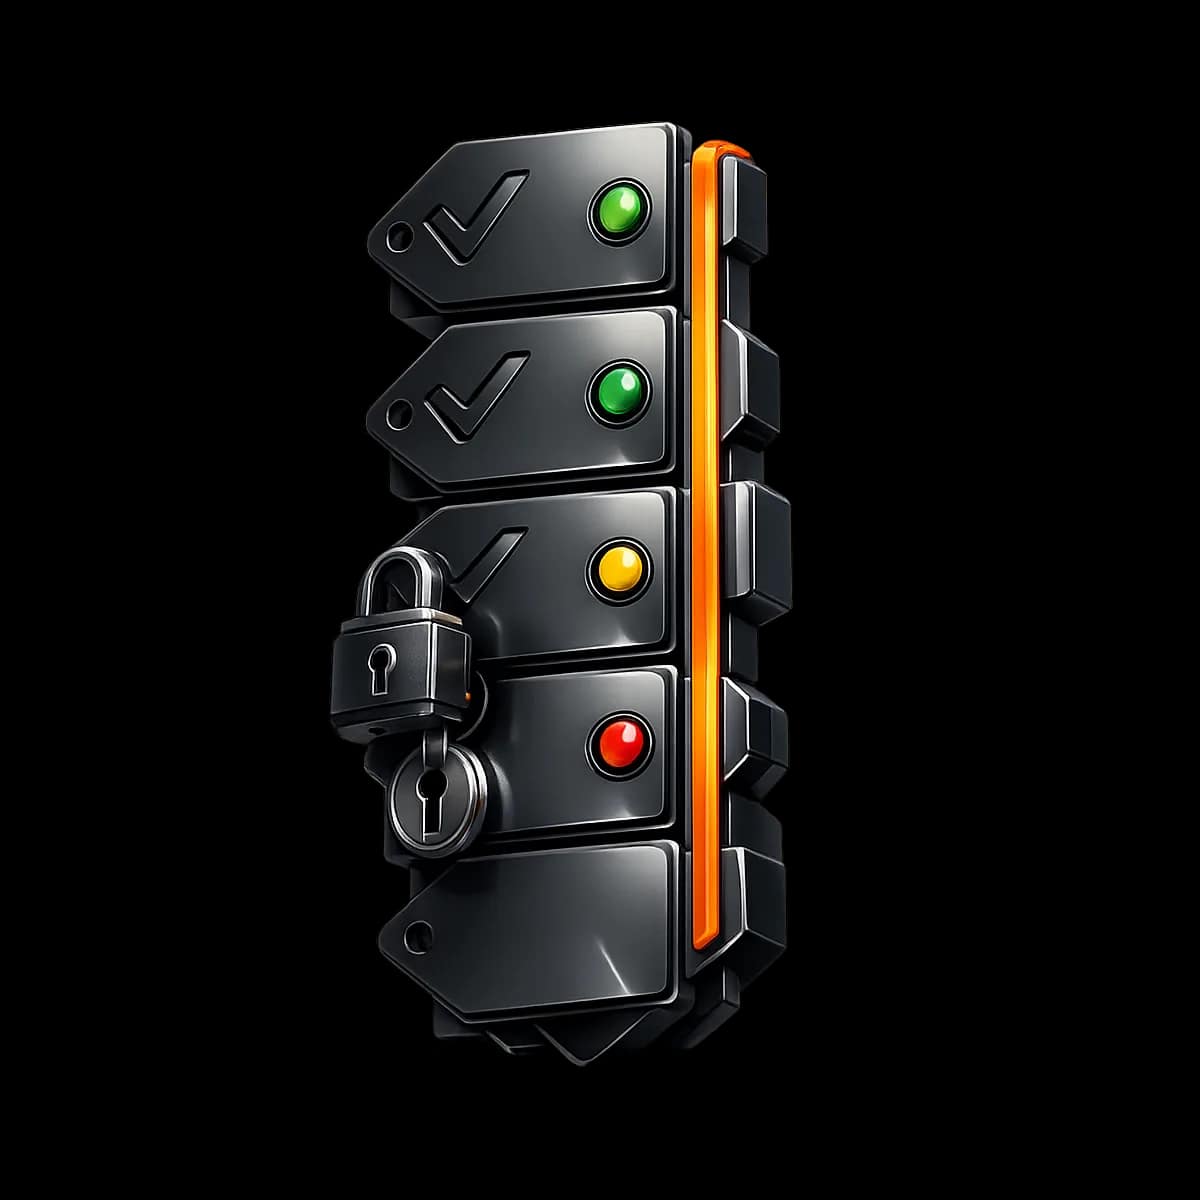
- Staff can’t accidentally override policy. Cross‑location transfers, comps, plan changes, and “just this once” fixes are approval‑gated.
- Reporting is comparable. You can review location performance without arguing about definitions (active members, intro conversions, attendance, revenue categories).
- Support load drops after week 3. Fewer manual fixes, fewer “who owns this?” questions, fewer member complaints about bookings or billing.
- Operations are local, controls are central. Managers run their location; owners keep guardrails.
Prerequisites (do these before Day 1)
Multi‑location rollouts go sideways when teams try to configure structure while migrating data, launching the app, and training staff all at once. Lock these prerequisites first so the rest of the plan is execution, not debate.
- Define your location model in one sentence. Example: “Locations are independent for scheduling and capacity, but members are shared; memberships may be single‑site or multi‑site.”
- Pick a single source of truth for member identity. Decide what uniquely identifies a member across locations (email + phone is common). Align on formatting rules (country codes, spacing, capitalization).
- Inventory your offerings by location. Classes, appointments, open gym, events, specialty programs. Flag what is shared and what is location‑specific.
- Document exceptions you currently “wing.” Cross‑location drop‑ins, plan upgrades mid‑cycle, missed classes, family accounts, comp extensions. These become approval gates later.
- Confirm migration scope and cutover date. If you’re moving from another system, run the migration plan first: Member data migration guide for gyms moving into Gymizen.
Roles and responsibilities (who owns what during rollout)
Multi‑location success requires clear ownership. If three people “kind of” own a decision, you’ll end up with three slightly different setups and a month of cleanup.
- Owner / Operator Lead (Accountable): location model, plan/access rules, approval-gate policy, final QA sign-off, go/no-go decision.
- Ops Manager (Responsible): configuration build, migration coordination, training schedule, checklist execution, post-launch backlog.
- Location Managers (Consulted): local schedule needs, room capacity, staffing patterns, member communication risks, “what will break at the desk.”
- Front Desk Lead (Responsible for adoption): day-to-day workflows, check-in integrity, exception requests, shift handoffs, issue routing.
- Head Coach / Program Lead (Consulted): class types, coach assignments, attendance expectations, make-up policies.
If you haven’t already set up staff access controls, pause and run Staff Onboarding & Permissions in Gymizen: A 7‑Day Access Control Rollout. Multi‑location complexity amplifies permission mistakes.
The 21‑day multi‑location rollout timeline (overview)
- Days 1–3: Confirm location structure + shared member rules; define “global vs local” settings.
- Days 4–7: Build locations; configure schedules, rooms/capacity, and core offerings per site.
- Days 8–11: Configure pricing/access catalog with location scope; set approval gates for cross-location exceptions.
- Days 12–14: Staff onboarding and training by role; dry runs of front desk and manager workflows.
- Days 15–17: QA week: booking, billing, check-in, reporting sanity checks; fix edge cases.
- Days 18–21: Soft launch at one location (or one program) → expand; confirm operating cadence and dashboards.
Days 1–3: Lock the multi‑location decisions that prevent future rework
Before you touch configuration, write down the decisions below in a one‑page rollout doc. This becomes your multi‑location constitution—and it’s what you’ll point to when staff request exceptions.
Decision 1: Shared members vs separate member records
Recommended default for most boutiques: one member identity across all locations. Members should not have “two profiles” just because they visit a second site. Separate profiles create duplicate billing risk, messy attendance history, and reporting that’s impossible to trust.
- Set a merge policy. If duplicates exist after migration, decide who can request merges, who approves, and what evidence is required (matching email/phone, photo ID, billing match).
- Define “home location.” Even with shared members, you’ll want a home location for retention reporting, onboarding workflows, and accountability.
Decision 2: Cross‑location booking rules (what’s allowed by default)
Decide whether members can book at other locations by default or only if they have a specific plan/add‑on. The cleanest approach is: cross‑location access is a product, not a favor. That keeps front desk from becoming the policy engine.
- Recommended default: Single‑location memberships are restricted to their home site; multi‑location access requires a clearly named membership or add‑on.
- Define drop‑in rules: Can a single‑site member buy a drop‑in at another location? If yes, is pricing standardized or location-specific?
Decision 3: Standardization vs local autonomy
Pick which settings are global (identical everywhere) and which can vary by location. Your goal is not uniformity—it’s comparability and predictability.
- Usually global: membership naming conventions, billing cadence rules, cancellation policies, discount approval rules, reporting definitions.
- Usually local: class schedule times, room capacities, coach rosters, local events, some pricing (if markets differ).
Days 4–7: Build your locations (structure, rooms, capacity, and schedule foundations)
These four days are about building a structure that your team can operate without constant manual intervention. Treat structure as a product: if it’s confusing internally, it will be confusing to members.
Step 1: Create each location with consistent naming and codes
Use a naming pattern that stays stable across reporting exports, notifications, and staff conversations.
- Naming default: “Brand – Neighborhood/City” (e.g., “Northside – River West”). Avoid internal abbreviations that members won’t understand.
- Location codes: Keep them short and consistent (A, B, C or RW, DT, SO). These help with operational handoffs.
Step 2: Define rooms/areas and capacity (don’t treat capacity as a single number)
If you run multiple modalities (e.g., Pilates reformer room + mat room, boxing bags + strength area), model them separately. Capacity is the foundation of clean reservations, waitlists, staffing, and retention protection.
- Recommended default: Create a room/area per constrained resource (reformers, bags, rigs, mats).
- Capacity rule: Set “true” capacity (quality capacity), not fire-code capacity. Your retention metrics will thank you.
- Coach-to-member notes: If a class requires a minimum coach ratio, treat that as part of capacity planning, not a last-minute staffing problem.
Step 3: Create class types and tags with a global taxonomy
If Location A calls it “Sweat” and Location B calls it “Conditioning,” your reporting will split. Choose one taxonomy for class types and use tags for local flavor.
- Global class types: Strength, Conditioning, Yoga Flow, Pilates Reformer, Fundamentals, Sparring, Open Gym.
- Tags: Beginner-friendly, High-impact, Skill, Competition Prep, 45-min, 60-min.
- Owner check: Every class type should map to a retention story (what habit does it build?).
Step 4: Build a 2‑week “pilot schedule” before you build the full quarter
Don’t start with a 12‑week schedule. Start with two weeks that represent your real operating complexity (peak hours, weekend, a specialty event). You’ll use it for QA and staff training.
If you need a scheduling framework to reduce churn risks when adjusting times or formats, keep this on your reading list: Boutique fitness scheduling best practices.
Days 8–11: Configure pricing and access rules by location (and make exceptions approval‑gated)
Multi‑location pricing gets messy fast because it’s where “member expectations,” “market differences,” and “staff favors” collide. Your objective in these four days is to build a pricing/access catalog that (1) members understand, and (2) staff can administer without improvising.
If you haven’t built your catalog yet, do that first and come back: How to Build Your Pricing + Membership Catalog in Gymizen: A 14‑Day Setup Plan.
Step 1: Decide the product pattern (recommended defaults)
- Default Pattern A (cleanest): “Single‑Location Membership” + “All‑Locations Add‑On.” Members who need flexibility can upgrade without you maintaining duplicate membership lines.
- Default Pattern B (if markets differ): Single‑location plans are priced locally; multi‑location is its own plan with a clear premium.
- Drop-in and packs: Standardize pack names (5‑Class Pack, 10‑Class Pack) but allow pricing per location if needed.
Step 2: Configure access scope explicitly (avoid “it should work” ambiguity)
For every product, define: where it can be used, what it can book, and what it cannot do. The goal is that a front desk person never has to guess.
- Membership access mapping: List each plan and the allowed locations (A only, B only, All).
- Service mapping: If PT/1:1 appointments are separate, decide whether packs are location-specific or shared.
- Intro offers: Decide whether intros are redeemable at any location or only at the purchase location (recommended: purchase location, unless you have centralized sales).
Step 3: Add approval gates for the cross‑location “exception paths”
In multi‑location operations, most revenue leakage and retention damage happens through well-intentioned exceptions: “Let them book here just this once,” “Comp them a week,” “Transfer their plan,” “Move the credit.” Your job is not to eliminate exceptions—it’s to route them so you can see patterns and fix root causes.
- Approval-gate: Cross-location booking override. Trigger when a member without access attempts to book at another location. Require manager approval and a reason code.
- Approval-gate: Membership transfer between locations. Trigger when moving a single-location member from A → B. Require effective date and confirmation of billing changes.
- Approval-gate: Credit/refund tied to a different location than purchase. Prevent “helpful” refunds that break accounting clarity.
- Approval-gate: Comp access or comp add-on. Require owner approval above a threshold (e.g., more than 7 days or more than $X value).
If you want a broader framework for controlling exceptions without frustrating staff, pair this with Automation + Approval Gates in Gymizen: A 2‑Week Workflow Setup Playbook.
Days 12–14: Train staff by role (with location-specific scenarios)
Multi‑location training fails when it’s delivered as one big “software demo.” Instead, train by role and focus on the decisions they make. Your aim is consistent execution, not feature knowledge.
Owner training (60–90 minutes)
- Review and approve the multi‑location constitution (Days 1–3 decisions).
- Confirm approval-gate thresholds and who can approve what.
- Define what “launch success” metrics look like by location for the first 30 days.
Manager training (90 minutes + 30 minutes QA practice)
- How to handle cross-location member requests: upgrade vs drop-in vs exception request.
- How to approve/deny exception requests consistently (use reason codes).
- How to monitor exception queues and spot patterns that indicate broken setup (wrong plan mapping, confusing member messaging).
- End-of-day review: bookings, attendance anomalies, and “who owes follow-up.”
Front desk training (two 45‑minute sessions)
Train front desk on the two core outcomes: (1) clean check-in and attendance data, (2) consistent routing of exceptions (not solving them ad hoc).
- Session 1: Check-in flows, late arrivals, member verification, handling “I booked the wrong location.”
- Session 2: Exception requests: how to submit, what notes to include, and what not to promise members.
- Standard script: “I can request an exception for you—our manager reviews these the same day. If it’s something you’ll need regularly, we’ll switch you to the right access plan so it’s seamless.”
Coach training (30–45 minutes)
- How to view the roster by location and by room.
- What coaches should do when a member shows up at the wrong location (route to front desk; do not “just let them in” if it breaks access rules).
- Attendance integrity: why it matters for retention, staffing, and fairness.
Days 15–17: QA week (the exact checks that prevent launch-day chaos)
QA is where multi‑location rollouts are won. The goal is to test the workflows that create the most member friction: booking across sites, staff permissions, billing changes, and exception routing.
QA checklist A: Member access + booking
- Create three test members: single-location A, single-location B, and all-locations.
- Attempt to book each member into Location A and Location B classes (including waitlists). Confirm expected allow/deny behavior.
- Confirm messaging: when a booking is denied, it should be clear what the member can do next (upgrade, drop-in, contact).
- Test “wrong location” booking scenario: member books at A but arrives at B. Confirm front desk process is clear and logged (exception request vs rebook).
QA checklist B: Billing and product scope sanity
- Purchase a single-location membership and confirm it maps to the correct access rules.
- Upgrade to all-locations access and confirm: (a) access expands immediately (or on your chosen effective date), (b) billing proration rules behave as intended, (c) staff can’t apply “random” discounts without approvals.
- Buy a class pack at Location A and confirm whether it can be redeemed at B (as per your rules).
QA checklist C: Permissions and approval gates
- Log in as front desk: confirm they can’t change membership access scope, issue credits across locations, or override cross-location access without routing an approval request.
- Log in as manager: confirm they can approve exceptions but the system captures reason codes and notes.
- Log in as owner/operator: confirm visibility across all locations and the ability to audit exception history.
QA checklist D: Reporting comparability
Do not wait until “after launch” to look at reporting. Multi‑location reporting breaks when definitions differ (what counts as active, what counts as attendance, where revenue is attributed).
- Confirm each location has the same class type taxonomy (or an approved mapping).
- Validate that attendance counts match expected roster behavior for a test week.
- Run a baseline weekly review structure. If you need a cadence template, adapt: Weekly Reporting Cadence in Gymizen: A 4‑Week Operating Rhythm.
Days 18–21: Soft launch, then expand (how to avoid “big bang” failure)
The safest multi‑location launch is not “all locations, all members, all workflows on Monday.” Instead, run a controlled soft launch where you can observe exceptions and tighten gates before volume spikes.
Soft launch options (choose one)
- Option 1: Launch one location first (preferred if locations operate differently).
- Option 2: Launch one program across all locations (e.g., only group classes first; PT later).
- Option 3: Launch with staff + a small member cohort (founders, long-timers) for 72 hours, then open to all.
Launch-day operating rhythm (what to do each day for four days)
- Morning: Review exception queue (cross-location booking overrides, membership transfers, credits). Approve/deny within a target SLA (e.g., same day).
- Midday: Spot-check check-ins at each location. Verify attendance integrity for the last 24 hours.
- Afternoon: Review member messages and confusion points. Update your staff scripts and member comms templates.
- End of day: Quick manager sync: top 3 issues, whether they’re “training issues” vs “configuration issues,” and what gets fixed tomorrow.
If you also need a cutover checklist to ensure billing, bookings, and exceptions don’t break, align your soft launch to Gymizen Go‑Live Cutover: A 7‑Day Launch Checklist—then layer the multi‑location pieces from this guide on top.
Recommended defaults (multi‑location settings that reduce chaos)
Use these defaults unless you have a clear reason not to. They’re designed to minimize member confusion and prevent staff from solving structural problems with one-off fixes.
- Default 1: Home location is required. Every member has a home location for accountability and reporting.
- Default 2: Cross-location access is explicit. Either a dedicated membership or add-on; not a silent permission.
- Default 3: Front desk cannot override access. They can request exceptions with reason codes; managers approve.
- Default 4: Standardized class type taxonomy. Tags can vary, class types should not.
- Default 5: Exception queues are reviewed daily for the first 30 days. This is where configuration gaps show up first.
Common mistakes (and how to prevent them)
- Mistake: Duplicating member profiles per location.<br/>Prevention: Decide identity rules and run a duplicate/merge process during migration and early QA.
- Mistake: Letting “temporary” cross-location access become permanent.<br/>Prevention: Approval-gate cross-location overrides and review patterns weekly; convert recurring exceptions into a real product (add-on or plan).
- Mistake: Inconsistent naming across locations (classes, plans, discounts).<br/>Prevention: Maintain a shared naming sheet; treat it like a brand asset because it directly impacts reporting trust.
- Mistake: Managers solve systemic issues with refunds/credits.<br/>Prevention: Put cross-location adjustments behind approval and require reason codes that are reviewable.
- Mistake: Training everyone the same way.<br/>Prevention: Train by role and by scenario; front desk learns routing, managers learn approvals, owners learn oversight and metrics.
What success should look like in Gymizen after 30 days
By Day 30 post-launch, you should be able to answer these questions without digging through notes or asking “who remembers what we did at Location B?”
- Are cross-location exceptions trending down? (They should drop as staff stop improvising and members get on the correct access products.)
- Is attendance data clean enough to trust? (Coaches see accurate rosters; managers see accurate utilization; owners see accurate demand by time slot.)
- Can you compare locations apples-to-apples? (Same definitions and naming, consistent class types, consistent access rules.)
- Do staff know the escalation path? (Front desk routes; managers approve; owners oversee thresholds.)
- Is your weekly review stable? (A predictable cadence, not reactive spreadsheet archaeology.)
If you want an owner-friendly way to keep retention and operations in view while you expand, pair your cadence with The real retention dashboard for gyms: what owners should track every week.
Conclusion: Build local autonomy on top of central guardrails
A multi‑location rollout isn’t finished when the schedule is live—it’s finished when your team can run daily operations without improvising, and when exceptions flow through approval gates instead of hallway conversations. Use the 21‑day plan to lock the structural decisions early, configure for clarity (not cleverness), train by role, and treat QA as part of the product you’re delivering to your members. When you do, Gymizen becomes the operating system for retention: clean access rules, clean data, and fewer “just this once” moments that quietly erode trust.